Thursday, March 28, 2013

Violet Jelly-Kitchen Magic

I don't make violet jelly every year.  It's an on-again, off-again project for me.

But I've been asked to speak at a large gathering and bring 'pretty' foods.  Violet jelly certainly qualifies.

It's a straight forward and easy recipe.  I gather the violets over a week or so and store them in my freezer in a ziplock until I;m ready to make jelly.  Decoct the violets in boiling water, add sugar and lemon juice and 'Presto-Chango', the color changes from violet blue to lavender pink.

Well, that's the theory anyway.

The lemon juice should alter the pH so that the anthocyanins (the color that's in things like violets and red cabbage) should change.  If you keep the pH fairly neutral, you'll keep the blue-violet color.  Go more to the acid side of the scale and you get a lavender, tip the scale to the alkaline side and you flatten the anthocyanins and get a yellow-ish green color.


I wanted a least a few jars to stay the dark violet-blue, so I opted not to add lemon juice.

Here's what I got:


No blue at all.  That's when I realized that both my water and sugar are mildly acidic.

(sigh)  No blue for me.

My friend Holly lives in an area where the water is very alkaline.  Her jelly turned yellow.  Tasted delicious  but still yellow.

But I have to admit, they are still beautiful.

Here's the recipe.  The intensity of the color of the jelly depends on how many violets you start with.  Although the recipe called for 2 cups (which have resulted in a pink color), I amped it up to almost 4 cups of flowers.

Here's the recipe:

Pour 2 cups boiling water over 2 cups of violet flowers (I used almost 4 cups of flowers).  Allow to sit overnight.  Add 1/4 cup lemon juice (strain this well if you want clarity) and 4 cups of sugar.  Bring to a boil. You can add a number of things for pectin (if you don't add pectin, you'll end up with violet syrup):  crabapples, powdered pectin and liquid pectin.  I've used all three but I wanted this jelly clear, so I opted for  one package of liquid pectin.  Boil for an additional two minutes.  Skim, pour into jars, seal and process in a water bath for 10 minutes.

Easy-Peasey.

Wednesday, March 27, 2013

Molasses Days

Someone asked me when I was going to write a cookbook.

You've got to be kidding me.  There are easier ways to make a living.  In fact, I have nothing but sympathy for cookbook writers trying to make it in this world of Kindle, and Amazon and internet blogs.  That's a tough gig.  You put your heart and soul and years of work into a cookbook to have to go on publicity tours where you eat fast food and sleep in cheap motels and end up making about 25 cents out of every book sold.

That, ladies and gents, is a labor of love.

Besides, I'm not that great a cook.  I'm more of a 'camp cook' rather than a chef.  Give me a heart in deer camp and a bit of cast iron and I can turn it into a dinner you'll never forget.  But I don't know how to 'plate' things.  And actually, I don't care that I don't know how to 'plate' things.  What I'm doing is spending a bit of my time doing something I enjoy, learning how the plants work and getting to know them on a more personal basis.

I'm a great forager.  I know what to look for and when to look for it, can ID most trees just by their bark, know what stage to harvest the plant in, know what is good and what not to bother with.  All those years of school and research and work make me great in the field.   Dr. Oliver would be proud.   But using the bounty and using it so that the tastes and textures compliment each other and having each dish a joy to eat?  That's what I'm working on.

I don't mind spending the time.  Goodness knows, I've got it right now.  Some days move like molasses poured over snow around here.


Easter Redbud Sour-Cream Coffee Cake with Western Redbud

I've been really sick lately.  As in 'the herbs aren't doing it, I need a Doc' sort of sick.  I was down and out (well, as much as a person that takes care of their mother could be) for 5 days.  Yesterday, I was finally feeling good enough to actually start chomping at the bit to get outside.

It's been beautiful here.  Well, in a drought stricken sort of way.  Blue skies, light breezes, bees and flowers every where and not a drop of rain.  I really needed to get out in it.  But I didn't want to over do anything and end up back in bed.  So I walked down past the orchard to get some Redbud blossoms.


Redbuds (Cercis occidentalis) are native here.  They are a member of the huge legume family and I often use the seed pods in place of snow peas in recipes.  And the flowers taste like a sweet pea.  I always hear them described as 'sugar-sweet', but I can't get behind that.

I don't do a lot with them besides pickle them for later use and this coffee cake.  But it's good and just in time for Easter brunch.

Sour Cream-Redbud Coffee Cake

Mix 2 cups Redbud blossoms, 1/2 cup sugar, zest from 2 lemons and let sit for 30 minutes.

In a separate bowl blend 1.5 cups flour, 2 teaspoons baking powder, 1/2 teaspoon baking soda, 1/2 teaspoon salt.  Then add this dry mix to the flowers and fold.

Mix 1 beaten egg with 1/2 cup cream, one cup of sour cream, 2 tablespoons oil, add to the flower mixture.

Fold in 2 tablespoons chopped, candied ginger.

Pour into a greased loaf pan.  Mix  1/2 cup flour, 1/4 cup brown sugar, 1/4 cup butter and 1/2 teaspoon cinnamon and sprinkle over the batter.

Bake at 375 for about 45 minutes (until the cake springs back when touched).

Cool slightly before removing from pan.


Pineapple Weed Sugar

I love pineapple weed.  Almost every one I know loves pineapple weed.  People that aren't foragers recognize it too.  I always hear 'Oh, I've always wondered what that was!' when I point it out to students.


Pineapple weed (Matricaria discoidea) is a tough, beautiful little herb that seems to thrive in the worst soils.   Dry dirt driveways, trail heads, well-worn footpaths, these are the places to seek pineapple weed.  And you will be rewarded with a sweet fragrant plant that supplies an almost perfect cup of tea.  Herbally, it's used the same way Chamomile is.  I've often wondered if most of the 'medicine' that comes from a few herbal teas is simply from practicing stillness for a few moments, filling your head with steam as you sip and watching the world go by, just for a few minutes.

I've often tried to 'keep' the flavor of pineapple weed.  Mostly I've been unsuccessful.  The oils dissipate quickly when drying.  Last year, I infused some of the herb in glycerin.  It was good for things like cream cheese frosting, but really was too sweet to use for much else.  This year though, I tried infusing sugar with it and the oils seem to be binding with the sugar.  I am going to use this for glazes and baking.

Mix 1 cup of pineapple weed heads with one cup of sugar.  Run through the blender in small batches.  The sugar will get wet and lumpy from the crushed flower heads.   Spread mix out on a baking sheet and dry.  (It took about two days.)  Occasionally, I broke the chunks up with a fork.


If you don't mind the lumps, you can use it as it is.  Otherwise you can run it through a blender again.


It's a beautiful shade of green and smells so good!

Sunday, March 24, 2013

Did You Ever Eat a Pine Tree?

I have always been  fascinated by the idea of eating  cambium.

When I was in the 4th grade, Mrs. Kokila read to about our local tribes of Native Americans.   She read us books like 'Ishi in Two Worlds' and took us to museums to see Native American baskets and beads and cooking utensils.  And some where along the line, someone mentioned eating acorns and cambium.  I was hooked.

Eating cambium is nothing new.

But what do you do with it?

If you come to my classes, we harvested buckets full last year.  We did the 'normal' things with it.  Baked it.  Fried it.  Boiled it.

(yawn)

It was bland.  It was boring.  It was dull.

But then I read that the Finns used it as a flour.

Perfect.

I used Pinus sabiniana, harvested in February. We had a warm early spring and I was able to get some early.  Otherwise, I would have waited another few weeks.  P sabiniana (or Gray pine) is probably not the most flavorful of pine.  In fact, there aren't many uses for any part of the Gray pine.  It's so full of knots that you can't get a straight board out of it.  It's messy and drips pitch all over whatever is under it.  And every once in a while, it drops one of it's huge cones and takes out a car windshield.  It does have a nice seed, but it's (cough.cough)...a tough nut to crack.  But it's fast growing and I have tons of it.  I'm trying to open up the meadow and increase the edges.  So these are trees that are coming down any way.  I don't recommend cutting down a slow growing,  beautiful, useful pine just for the sake of eating it.

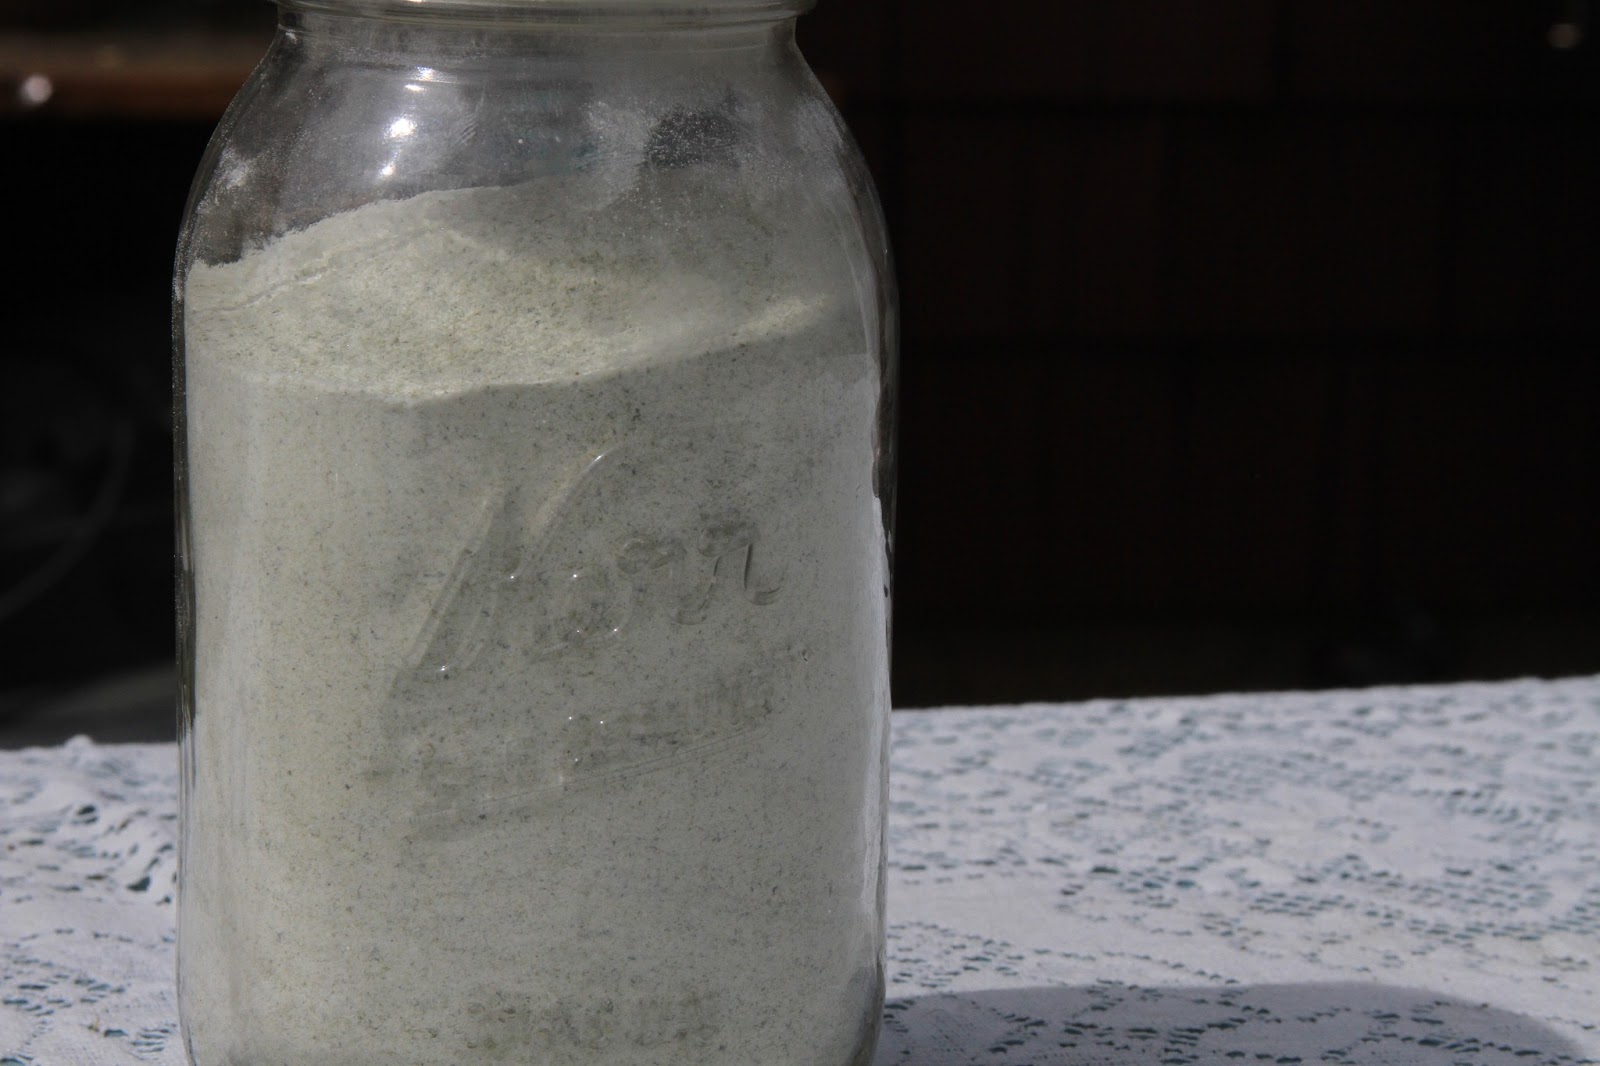
I ground up my cambium and started experimenting.  I wanted to see how far I could take it.  And this was extreme.  I made junk food.  Yep.  Junk food.  But yummy junk food.

Doughnuts.

I wish I could say that using cambium made these healthier, especially the fried ones.  I would have an excuse to eat more of them.  But alas, they probably not any healthier than doughnuts bought a really good doughnut shop.  Tender on the outside   Moist on the inside.  A soft glaze that sticks to your fingers...but no taste of pine.  Anywhere.  Just pure, sweet doughnut.  I did cut the sugar down on the baked version a bit, and baking cuts down a few of the calories.

Cambium doesn't have gluten, so you always have to add something to make it stick together.  I used wheat flour and almond flour in these two recipes   I added the almond flour in the baked version to cut down on the sugar and make them slightly healthier.

If you decide to work with cambium, my experiments showed I could take it to about a 50:50 ratio with flour.  Your mileage may vary.  I thought I could go higher actually, but I cannot bring one more doughnut into this house for a few months.  Yes, I made that many batches and ate that many of them.  I do not want to see another doughnut for a very long time.


Baked Cambium Donuts
These are the healthiest of the two.  I cut down the sugar a little, with the addition of almond flour.
1/2 cup flour
1/2 cup pine cambium
3 heaping tablespoons almond flour
5 tablespoons sugar
1 teaspoon baking powder
1 tablespoon butter
1/4 teaspoon cinnamon
1/2 teaspoon vanilla
6 tablespoons milk
1 egg (beaten)

Preheat oven to 325 degrees.  Grease a doughnut pan.
Scald milk and melt the butter in it.
In a large bowl, mix flours, sugar, baking powder, cinnamon and salt.  Stir in eggs, vanilla and butter.  Beat until blended.
Spoon batter into doughnut pan.
Bake 10-15 minutes, until doughnuts spring back when touched.  Slightly cool before removing from pan.
I thought these were fine without glazing, but if you want to frost, glaze, sprinkle with powdered sugar, whatever, knock yourself out.

And now for the 'fat pills'...

Raised Cambium Doughnuts
1/2 cup warm water
2 pkg active dry yeast
3/4 cup milk
1/4 cup sugar plus 1 teaspoon for yeast
1 teaspoon salt
2 cups flour (plus extra for kneading)
2 cups cambium flour
1/3 cup shortening
2 eggs

Soak yeast in warm water, add the 1 teaspoon of sugar.  In a small saucepan, add the shortening to the milk and scald.  In a large bowl, mix sugar and salt together and then pour the scalded milk over.  Stir until dissolved.  Let cool until the mixture is warm.  If too hat, your yeast will die.

Add 1 cup of flour, eggs and yeast mixture.  Beat until smooth.  Add remaining flours and mix.  Dough will be very, very soft.  Keep your hands floured to keep it from sticking.  When dough begins to leave the sides of the bowl, turn out onto a lightly floured board.  Knead until dough becomes smooth and elastic, working in extra flour if needed (I worked in about another half cup of flour to get a dough that had enough body to roll out.)

Place dough in a greased bowl, turn over so top is coated with oil.  Cover with a towel and place in a warm spot until doubled (about an hour).


Roll out dough to 1/2 inch thickness and cut doughnuts out.  (I used a doughnut cutter, but you could use a glass and a bottle cap, a 32 can and a small canape cutter, pill bottle, whatever works for you).

Let rise until very light (about 40 minutes.

Drop into hot fat (325-350 degrees) and turn when doughnuts are just barely brown.  Turn once again when doughnuts are browned sufficiently.

Drain on absorbent paper.  Glaze while still warm, or roll in sugar or cinnamon sugar.


Glaze
1 tablespoon water
1/2 teaspoon vanilla
1 cup confectioners sugar

Mix together, add a few more drops of water to thin if necessary.